Showing posts with label cookies. Show all posts

Wednesday, 11 December 2013

Nutella Cheesecake Bars


WARNING: DIETERS AVOID THIS RECIPE!
It is not low fat. 
It is not healthy.
It is however delicious.
And it will definitely require some exercise afterwards to prevent this sugar from going straight to your thighs.
But if you, like me, have a sweet tooth, then it's absolutely worth it.

Nutella Cheesecake Bars
Ingredients
Crust
  • 1.5 cups crushed tennis biscuits (about 1 pack)
  • 6 Tablespoons (90 grams) melted unsalted butter
  • 1/3 cup (67 grams) granulated sugar
Filling
  • 2 tubs cream cheese (460g), softened to room temperature
  • 1 large egg
  • 1/4 cup (50g) granulated sugar
  • 2 teaspoons vanilla extract
  • 1/3 cup (100g) Nutella, slightly warmed*
Directions

Preheat oven to 180C degrees. Line a 8x8inch baking pan with aluminium foil with enough overhang on the sides. Set aside. My dish was 6x10inch which worked perfectly.

To make the crust: 
Using either a blender or a bag and rolling pin, pulverise the biscuits. 
Pour into a medium bowl and mix with melted butter and sugar. 
Press into the lined pan. Bake for 5 - 8 minutes. Allow to cool as you prepare the filling.

For the filling: 
Beat cream cheese, egg, sugar, and vanilla extract together with a hand or stand mixer until smooth and creamy, about 3 full minutes. 
Spoon filling onto the crust. Drop large spoonfuls of Nutella on top of filling and swirl gently with a knife.
(To make the Nutella easier to manage, heat it for a few seconds as it then becomes much easier to swirl.)

Bake for 30-35 minutes, or until the cheesecake has set up and the edges are lightly browned. The bars will be very puffy, but will sink slightly down as they cool. Allow to cool for 30 minutes at room temperature on a wire rack and then chill in the refrigerator for at least three hours. Lift the foil out of the pan and cut into squares.

Store bars in a covered container for up to 5 days in the refrigerator. (That’s if you can manage to make them last that long. We gobbled mine up in 3 days)


Baking the crust

Dollop in the cream cheese mixture

Drop the Nutella on the top and swirl around

After refrigerating, cut up and enjoy!

Monday, 26 August 2013

Sunday Night Blues? Not anymore...


Last night as the Sunday night blues started to creep in, The Boyfriend and I, both unwilling to accept our weekend was coming to an end, decided a batch of freshly baked choc-chip cookies were just what we needed! 
And boy were we right! 
These cookies took no more than 20 minutes to prep and 10 minutes to bake and are absolutely delicious!
A pot of tea and choc chip cookies, coupled with the Sunday night movie was just the right way to ease into another busy working week…

Ingredients

1 cup packed brown sugar
3/4 cup granulated sugar
1/2 cup butter, softened
2 1/4 cups all-purpose flour
1 teaspoon baking soda
1/4 teaspoon salt
1 teaspoon vanilla extract
2 large egg whites
3/4 cup semisweet chocolate chips

Directions

  • Preheat oven to 180°C.
  • Combine sugars and butter in a large bowl; beat with a mixer at medium speed until well blended. Add vanilla and egg whites; beat 1 minute.
  • Add flour, flour, baking soda, and salt and mix.
  • Add choc chips; beat until blended.
  • Drop dough by level tablespoons onto baking sheets coated with cooking spray. Remember to leave enough space between cookies as they do swell.
  • Bake at 180°C for 10 minutes or until lightly browned. Cool on pans for 2 minutes. Remove from pans; cool completely on wire racks.
  • Makes approximately 32 cookies.


@tipsytart is now also on instagram. Be sure to follow for real time updates of baking & adventures!
 

Sunday, 13 January 2013

Milk & Cookies


This morning while The Boyfriend was out surfing I felt like baking, and was also really in the mood for peanut butter, so the obvious choice was these tasty peanut butter cookies.
They take just a few minutes to whip up and are pretty delicious.

Peanut Butter Cookies

Ingredients:
1/2 cup butter
1/2 cup peanut butter
1/2 cup sugar
1/2 cup brown sugar
1 egg
1/2 teaspoon vanilla essence
1 1/4 cups sifted flour
3/4 teaspoon baking soda
1/4 teaspoon salt

Directions:
Preheat oven to 180º.
Mix butter, peanut butter, sugars, egg and vanilla essence (first 6 ingredients)
Add the rest of the ingredients and mix well.
Roll into balls and press down with a fork dipped in sugar.
Bake for 10-12 minute.
Ovens do vary so your baking time may be less. Just keep an eye on them.

This batch made exactly 30, which is a great number of cookies if you ask me. Any more and they tend to go stale (or us go fat!), but 30 is enough to share with a few friends but not get sick of them!


Give them a try. You won't regret it.
 
Original recipe taken form here.
 

Milk and cookies. Perfect.

I love having a full cookie jar at home!

Tuesday, 6 November 2012

Sweet and Simple Sugar Cookies


These cookies are really easy to make and the kind of simple treats that are so nice to just have in jars at home, to nibble on with tea or at night after dinner (better for the waistline than the delectable rolo cookies...)


Ingredients:
3 cups all-purpose flour
1 teaspoon baking powder
1 cup  unsalted butter, room temperature
1 cup sugar
1 large egg, room temperature
1 teaspoon vanilla extract


Method:
In a medium bowl, stir together the flour and baking powder and set aside.
In a separate bowl, cream together the butter and sugar until light and fluffy. 
Add the egg and vanilla and beat another minute or so.
Add the flour mixture slowly.  (Be careful not to add too much at a time or the flour will go flying!)
Blend until all of the flour is incorporated and the dough begins to pull away from the sides of the bowl.


Take the dough out of the bowl and place it on a piece of parchment paper.
Using your hands, knead the dough a few times.

Place the dough in a large plastic (ziplock type) bag (I just used plastic wrap) and refrigerate for about 2 hours.  If you want to speed up the chilling process, place the bag of dough in the freezer for about 20-30 minutes. Just don’t forget it in the freezer, or it will become too firm to work with (and then you’ll have to wait for it to thaw)

When it’s almost time to remove the dough from the refrigerator (or freezer), preheat the oven to 180 degrees (C)
When the dough has chilled and is firm, take out about half of the dough, leaving the rest in the refrigerator, until you're ready to work with it.

Flour the surface slightly and roll out your dough, then cut out shapes of your choice.

Place cookies on a baking tray covered with wax wrap and bake for 8 - 10 minutes or until they are just starting to get golden. They will continue to cook while in the tray so be sure to remove them after about a minute.


I opted to ice my cookies with a very basic royal icing. Mine was a bit thicker as opposed to the liquid royal icing. 

Royal Icing
To make royal icing beat two egg whites until fluffy. Add a teaspoon of vanilla essence and then slowly beat in 4 cups of icing sugar. I also added a few drops of colouring to give it a prettier colour...


And enjoy...

Recipe taken from here

Tuesday, 18 September 2012

Dangerously Decadent


Warning: Do not attempt this recipe if you are dieting or trying to watch your weight. These cookies are devilishly decadent and you may find yourself having more than just one…

Rolo Chocolate Brownie Cookies

Ingredients
1 cup brown sugar
1 cup white sugar
¾ cup baking cocoa
1 cup butter
2 tsp vanilla
2 eggs
2 ¾ cup flour
1tsp baking soda
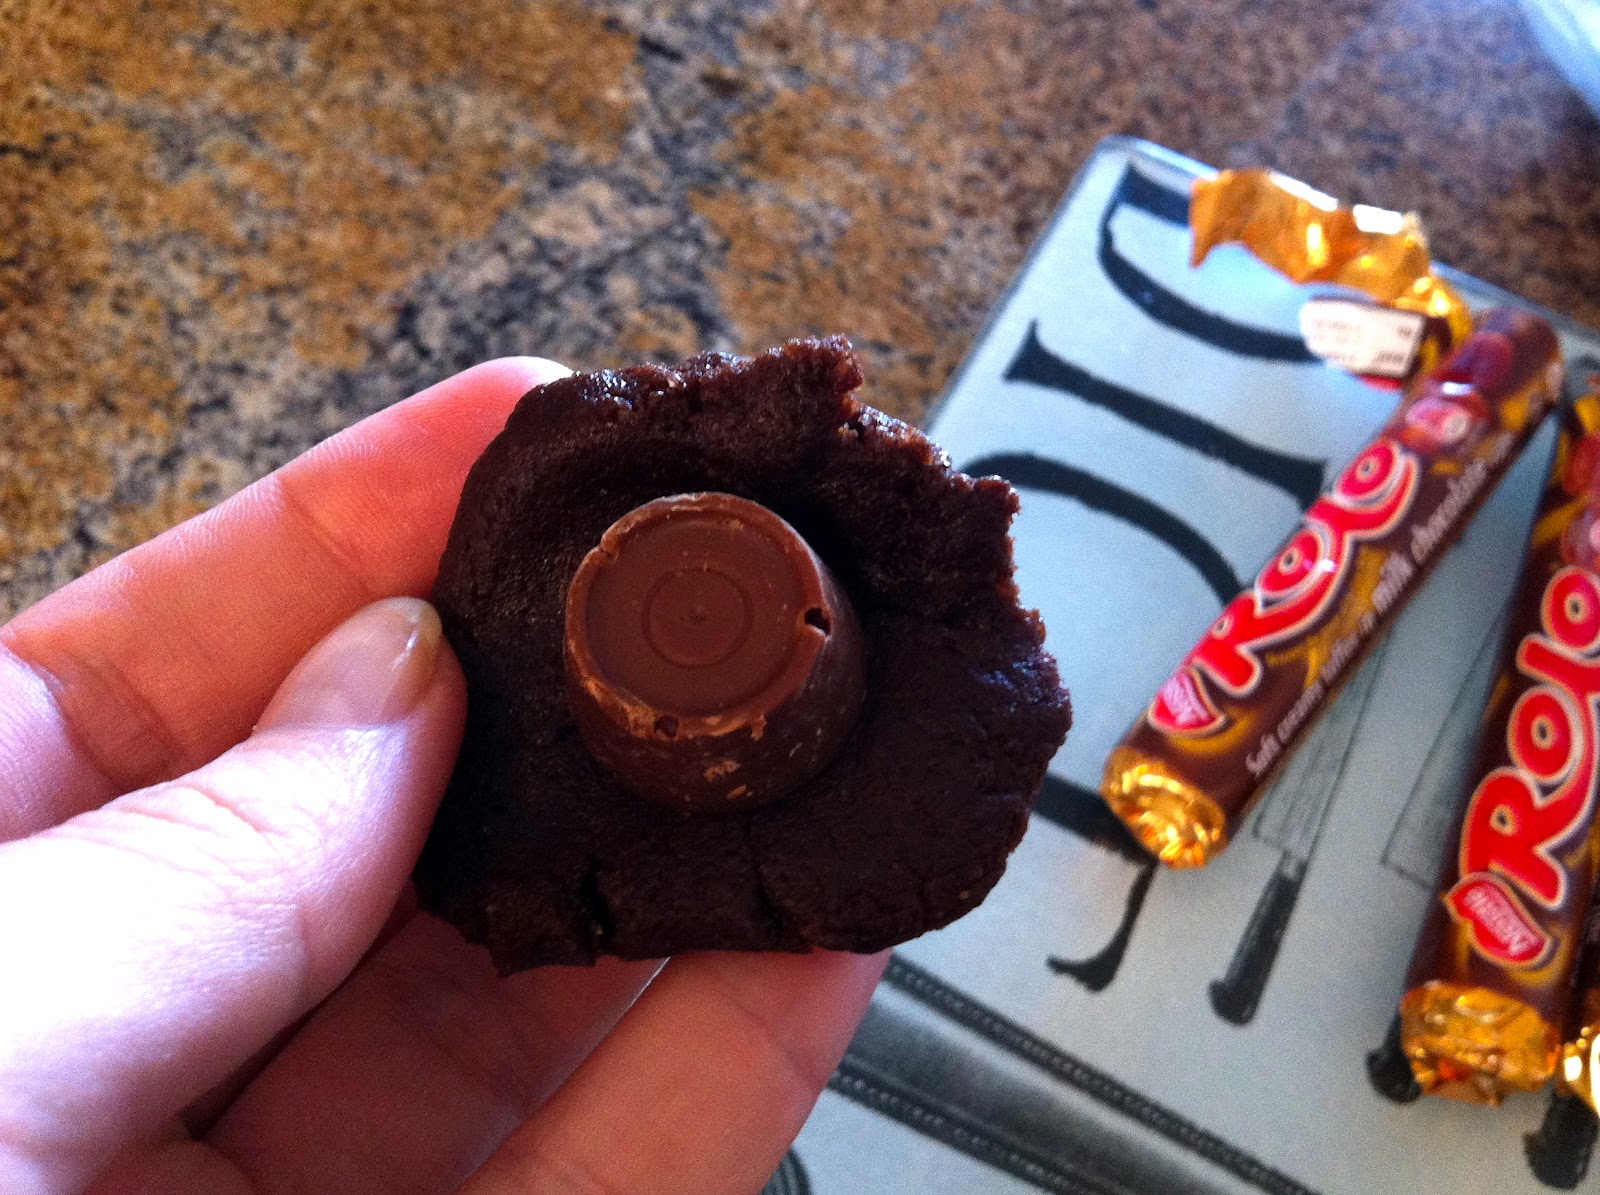
5 packs of rolos (50 rolos in total)
extra sugar to roll each ball in.

Directions
Mix sugars, cocoa, butter, vanilla and eggs.
Once mixed add the flour and baking soda.
Refrigerate dough for 30 minutes
Roll dough around each rolo, (it should now be about the size of a ping pong ball), and then roll each ball in sugar.
Place on a baking tray that has been covered with wax paper then bake for 8 – 10 minutes. They will start to crack when they are ready to be taken out.
Cookies will last if kept in an airtight container (assuming they don’t all get eaten immediately.)

Note: allow cookies to cool for 5 minutes before taking them off the paper. the rolo inside will be very soft, and when I took one off to soon the entire rolo dropped out and stuck to the paper...

Original recipe taken off the Big Oven iphone app.

Tuesday, 4 September 2012

I Heart Cookies

I love to bake. 
This does not however mean that I am a master baker yet. But I do love to try new recipes and new skills.
This weekend I tried my hand at this recipe from Glorious Treats and had a laugh trying to ice the cookies. As it turns out, this is slightly trickier than Glory makes it out to be. (I tweaked the decorating slightly to suit what I had at home)
But the results were very tasty and although not quite perfect, they did get smiles form my ever-willing taste testers.