Tuesday, 18 September 2012

Dangerously Decadent


Warning: Do not attempt this recipe if you are dieting or trying to watch your weight. These cookies are devilishly decadent and you may find yourself having more than just one…

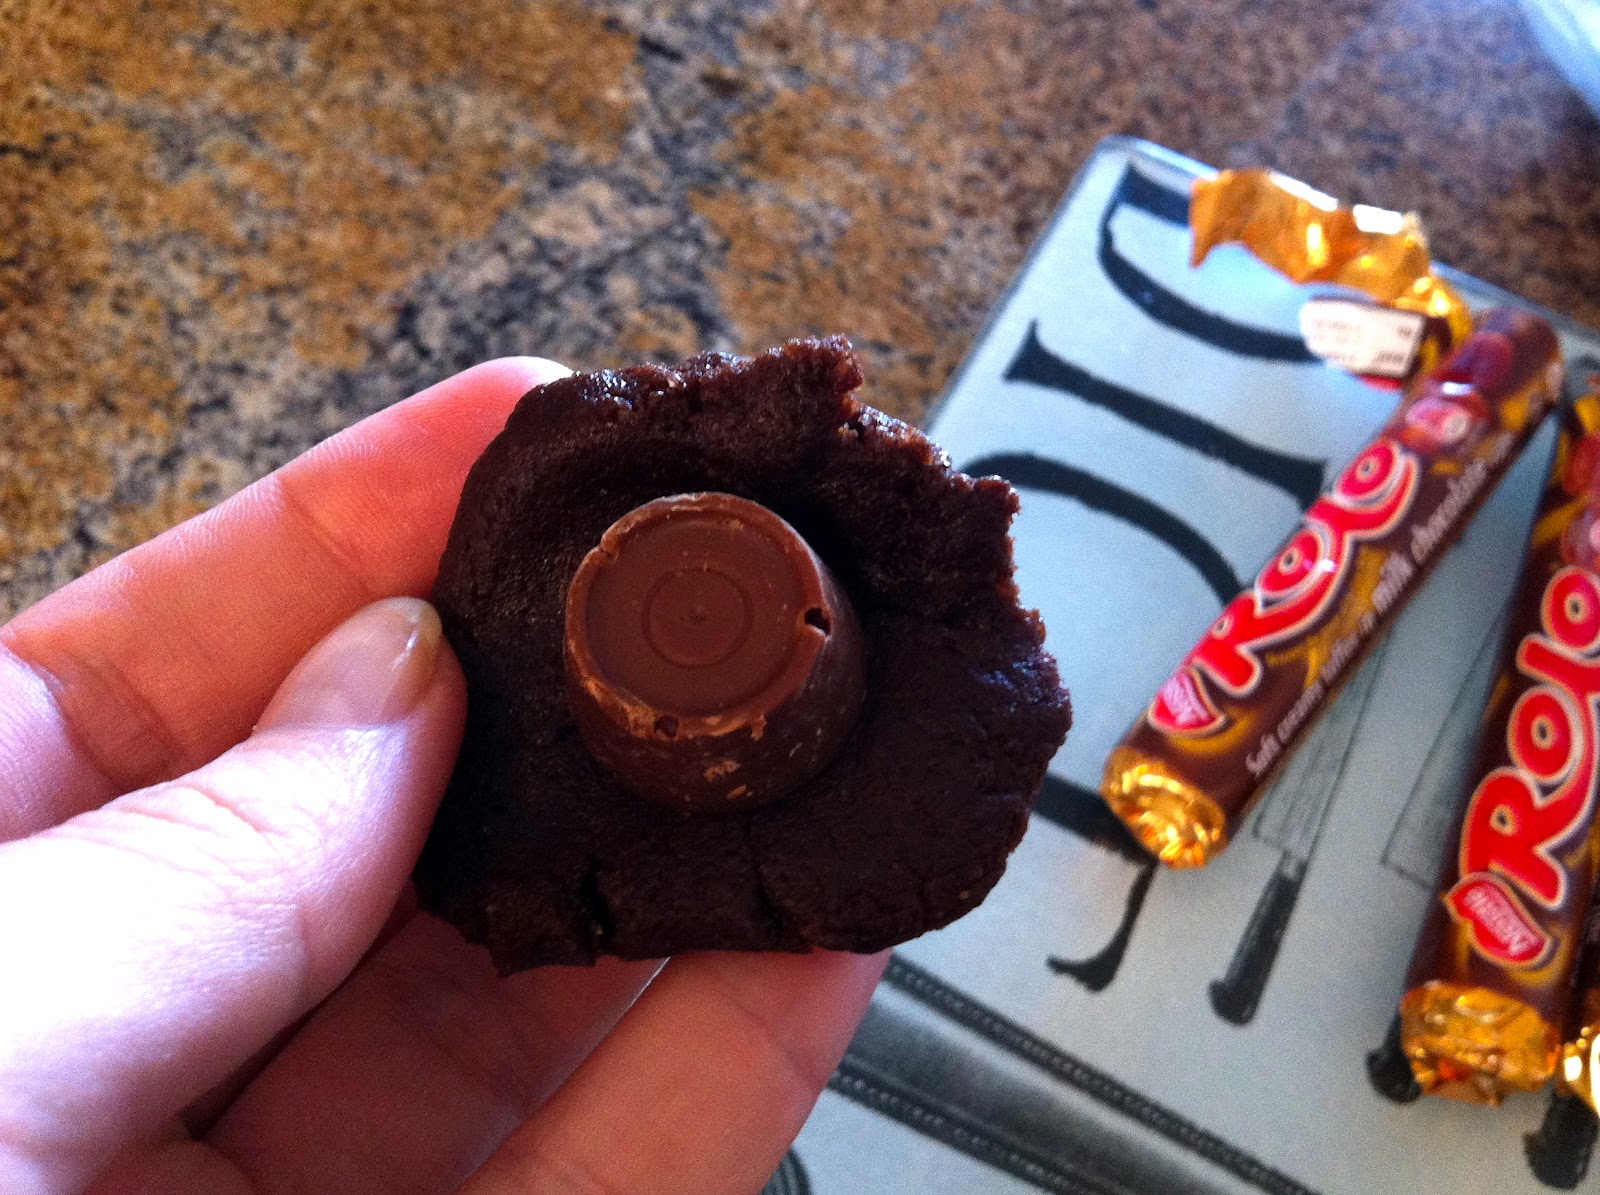
Rolo Chocolate Brownie Cookies

Ingredients
1 cup brown sugar
1 cup white sugar
¾ cup baking cocoa
1 cup butter
2 tsp vanilla
2 eggs
2 ¾ cup flour
1tsp baking soda
5 packs of rolos (50 rolos in total)
extra sugar to roll each ball in.

Directions
Mix sugars, cocoa, butter, vanilla and eggs.
Once mixed add the flour and baking soda.
Refrigerate dough for 30 minutes
Roll dough around each rolo, (it should now be about the size of a ping pong ball), and then roll each ball in sugar.
Place on a baking tray that has been covered with wax paper then bake for 8 – 10 minutes. They will start to crack when they are ready to be taken out.
Cookies will last if kept in an airtight container (assuming they don’t all get eaten immediately.)

Note: allow cookies to cool for 5 minutes before taking them off the paper. the rolo inside will be very soft, and when I took one off to soon the entire rolo dropped out and stuck to the paper...

Original recipe taken off the Big Oven iphone app.

Monday, 17 September 2012

Royal Class


I have seen many of my favourite bloggers rocking the princess bun (such as Blair from Atlantic-Pacific) and proving it is no longer just for sweetheart ballerinas.

How to achieve the princess bun

You’ll need a men’s sock that you can cut. Because I have dark hair I went for a black sock. Blondes should probably go for white / beige.


 Cut the top of the sock off so it becomes more like a tube sock, then fold it until it resembles a scrunchie (Those nasty hair ties that were better left in the 80’s)

 Now with your hair in a ponytail, pull your pony through the sock, leaving the sock just at the end of your hair.


Roll the sock down, making the hair roll under and into itself. At first the hair might only be on one side, so just wiggle it all around the sock with each turn, making it cover the entire sock and starting to form the bun.


Keep turning until it gets down to your head. It should feel fairly snug and in place. 

 I accessorized with a little bow, and in an instant you’re ready to go.
Although this is super easy, it may take a few tries.
Have Fun!

Friday, 14 September 2012

Thursday, 13 September 2012

Market

A romantic, fairy-lit gem hiding amongst the busy streets, Market welcomes you with soft music and the offer of great wine and a delicious meal served under the trees…

We attended a work function at Market so only got to taste the canapés but based on the service and snacks, I would love to go back for a romantic dinner for two...

Market: 40 Marriott Road, Greyville, Durban.


Wednesday, 12 September 2012

Heart & Sole


Louboutin got it right when he coloured the soles of our shoes. But why stop at red? Why not blue or pink or purple?
I may not be able to afford his heels, but I sure can add his chic appeal to my collection with boldly coloured soles.
What you need:
  • Primer
  • Normal acrylic paint
  • Modge Podge

Firstly paint the heels of your shoe with primer. The reason we add primer is because it prepares the surface. I kind of think of it as the bottom coat I apply below my nailpolish. (I did two layers)
Let this dry over night then paint with your colour of choice. I chose this light turquoise. 
Once the paint is dry you need to paint with a top coat. I had looked at a varnish but the lady at the hardware store warmed against it as the varnish would make my shoes slippery (good point) so I opted for modge podge, as it is still a sealant but being a glue it is less slippery. Modge podge layer over layer over layer. This is a very important step so don’t skip it. One layer vertical, one layer horizontal.
Then once you have done more layers than you believe necessary, leave to dry and voila, heels with a kick.  


 (footer: pardon all the puns, I just couldn't resist)